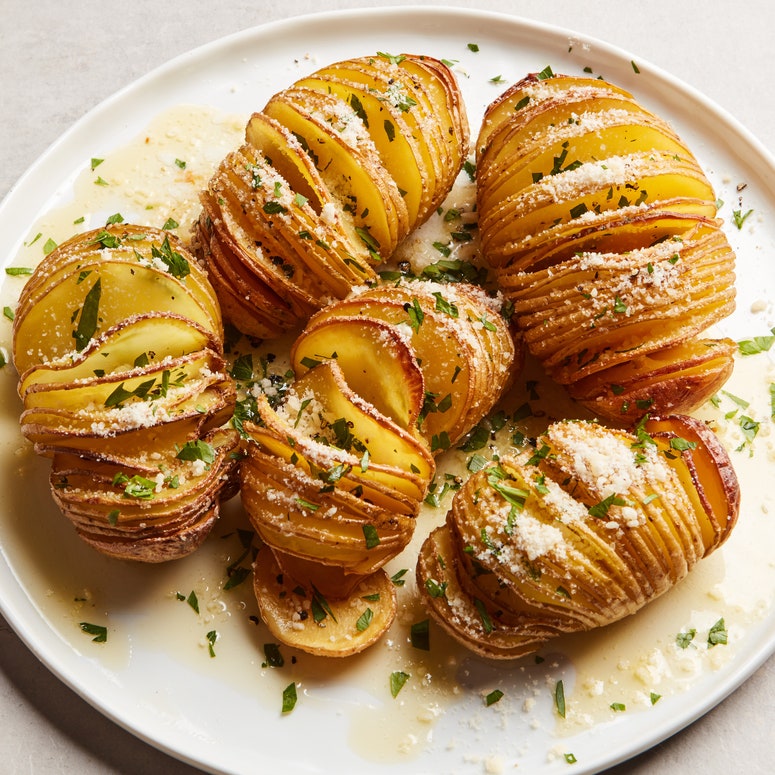
Hasselbacking a potato is an art, not a science. You have to adapt to the potato—anticipate how the potato will move. You have to be the potato. The technique is one that has gained significant momentum thanks to its eye-catching presentation, but it’s a dish that can take a bit of finessing to get right. By thinly slicing the top of your potatoes to create fanning slits, you increase the amount of surface area the spuds are exposed to in the oven, allowing the tops to transform into crisp, chip-like scales. But properly hasselbacking a potato can be challenging; and flailing around with a sharp knife is scary. Cut the slits too thickly and they won’t get crisp; slice them too deep and the potatoes will fall apart. Luckily, there's a handy tool in your flatware drawer just waiting to help.
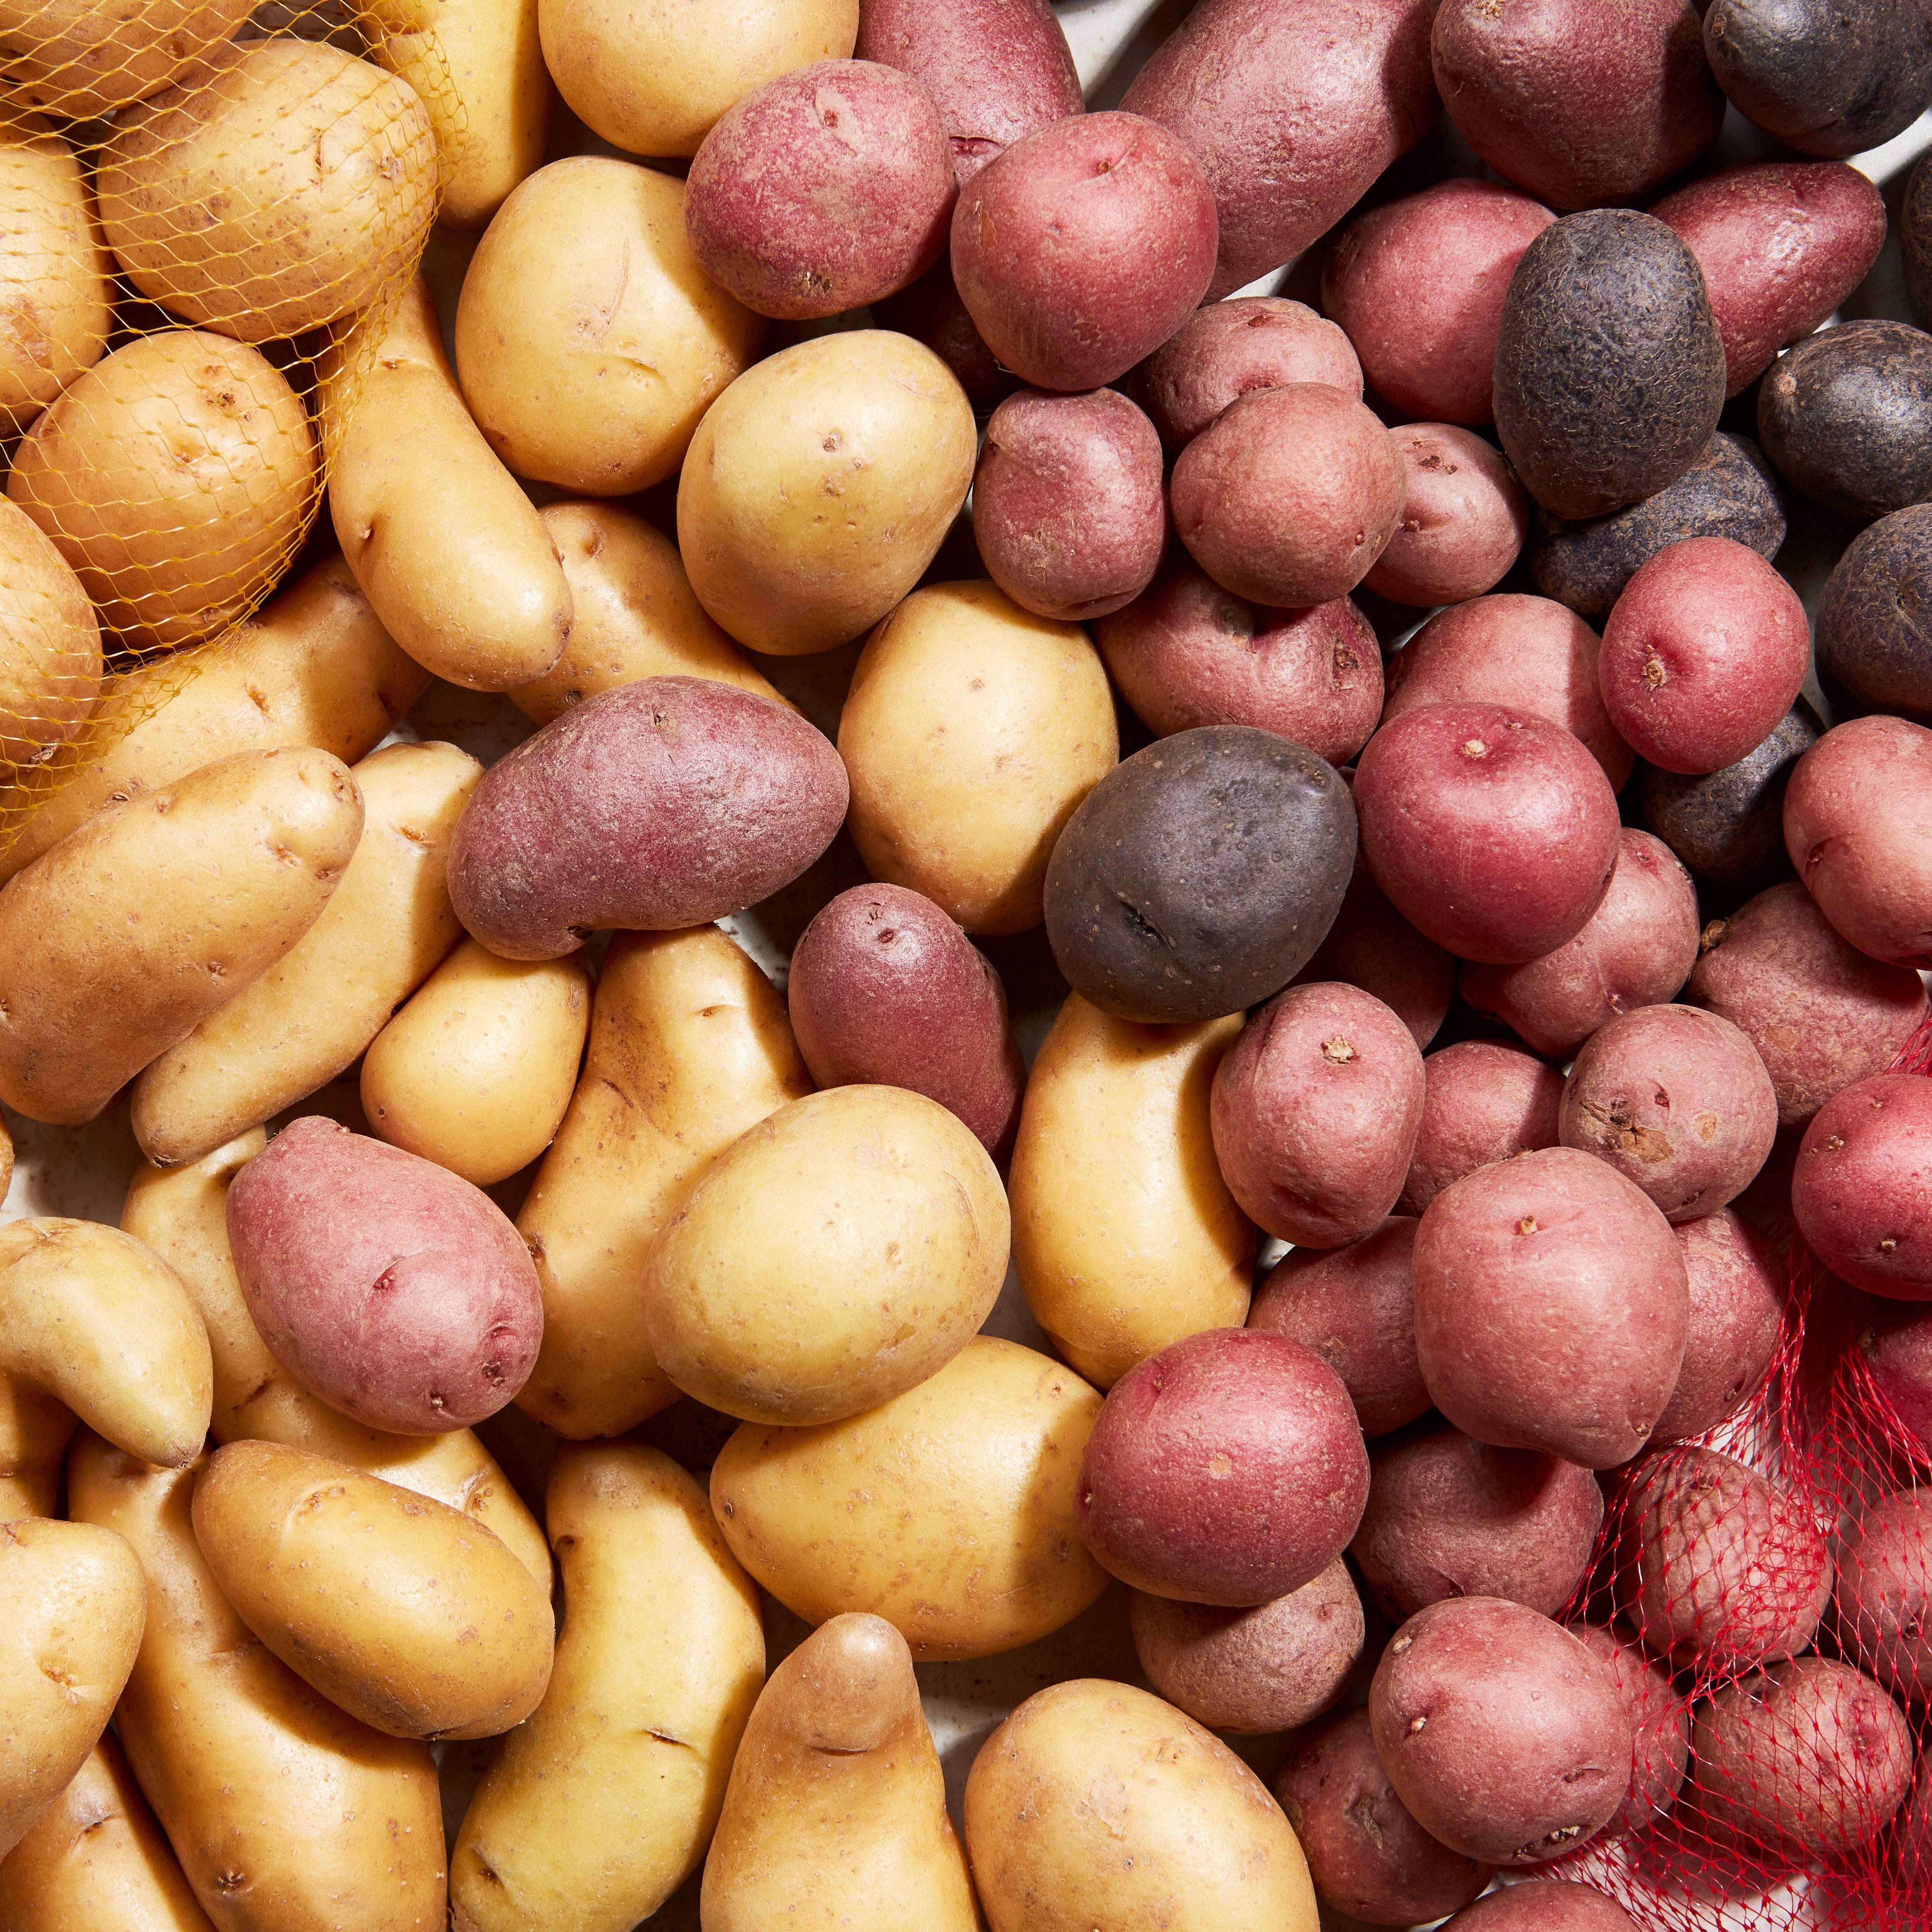
Even before you start prepping your potatoes, nailing the right texture relies on picking the proper spud. Russets have always been the de facto potato of choice for hasselbacking, but their starchy, dry texture makes them less than ideal. Instead, opt for smaller Yukon gold potatoes. These tinier spuds cook in a fraction of the time, and are the perfect size for creating the ideal crisp-yet-creamy texture. Their petite nature means the crispy topping can stand up to the creamy centers.
Once you pick your potatoes, it’s time to cut them. This is the most difficult part of hasselbacking, but there’s a common household object you can use to make your life easier: chopsticks. While I wouldn’t recommend using your finest chopsticks (the knife can damage them), any pair of disposable chopsticks works great. Lay the chopsticks down on your work surface parallel to each other, as if they are train tracks. Set the potato down, running lengthwise between the two sticks. Now, you can start making your slices, using the chopsticks as guardrails to stop you from cutting all the way through the spud.
This ensures that the bottom ¼-inch of the potato remains intact so that nothing falls apart in the oven (or on its way from the baking sheet to your serving platter). This will remove the stress of accidentally cutting through the potato out of the equation, allowing you to slice with confidence. Create slices as thin as you possibly can (¼ to ⅛ inch is prime), and you’re on your way to restaurant-worthy hasselback potatoes.
Next, it’s just a matter of baking the potatoes in two steps: First, you’ll bake the potatoes covered in foil to gently steam them and ensure the centers are tender, then remove the foil and allow the heat of the oven to crisp and brown the tops. This two-step baking process is the key to avoiding leathery hasselback potatoes that are overcooked on the top yet still firm in the center; the result of baking them uncovered the entire time.
If you keep these tips in mind while making your hasselbacks (try the trick with other vegetables, like butternut squash, too), the potato gods will reward you with impossibly crisp and buttery spuds. You can dress them up or down however you choose, finishing them off with dollops of cold sour cream or showerings of grated Parmesan. However you serve these lobster tail-like beauties, this slicing technique will leave you with a photogenic result with every bite cooked evenly.